Setting Up Pelican
Published:

In my previous article I concluded that I was going to switch over to the ABlog extension for Sphinx, and build my website that way. I shared the article on dev.to, and got a useful comment that lead me to a couple other options that I hadn't seen. The best of these is Pelican. Similarly to ABlog, it's a Sphinx extension with a variety of features. It seems to be in a lot more active development, and has an option to import my existing WordPress site. All in all, it sounded like a better option and better supported, so I updated my plan accordingly.
First Steps
The first thing I did to get started with Pelican is set up a github repo (private in this case) and clone it to my computer. Then, I started setting up the virtual environment. Because I had Anaconda installed, and realized I didn't want it (and the potential requirements.txt bloat it would include), this involved a bunch of deleting and rearranging, and reinstalling Python3 via brew and pyenv. Not highly relevant to Sphinx and Pelican, though. After that I created a venv in my website folder, ran venv/bin/pip install --upgrade pip, and venv/bin/pip install pelican to get all my requirements in the venv.
Onward to pelican-quickstart.
The quickstart script is pretty handy and walked me through the initial setup. Some of the questions tripped me up (article pagination, for example, for which I selected No at this point; I will revisit the setting later if I don't like the behavior without it) but overall it was pretty straightforward; this nice article on opensource.com helped work me through any questions I had. I will eventually want to upload my site via FTP, but first I need to make sure everything is working as intended, so after selecting "yes" I just left the default localhost and other options. I also let Pelican generate a Makefile for me, which looks like it will be quite handy to run the appropriate commands as needed once my content is set up.
Testing the devserver
After this I just spent a few minutes looking through the files it created. I haven't used a tool like this previously and I was curious how everything worked together, and I wanted to check for other config or settings that it was worthwhile to update before I got any further. This included adding a couple links to the Social widget variable, and fixing a typo in my site name.
Then I tried running the make devserver command, and found some errors:
/bin/sh: venv/bin/pelican: No such file or directory
make: *** [devserver] Error 127
Well, that's awkward. It didn't take me long to locate the problem, though. These two lines at the top of the Makefile:
PY?=python3
PELICAN?=pelican
In a standard installation, with the venv activated, they would work; but I'm practicing using a venv for the project without having to activate it. So a quick adjustment to the following got everything running nicely:
PY?=../venv/bin/python3
PELICAN?=../venv/bin/pelican
The leading ../ was necessary because the venv folder and my website folder containing the Pelican setup are neighbors, not nested.
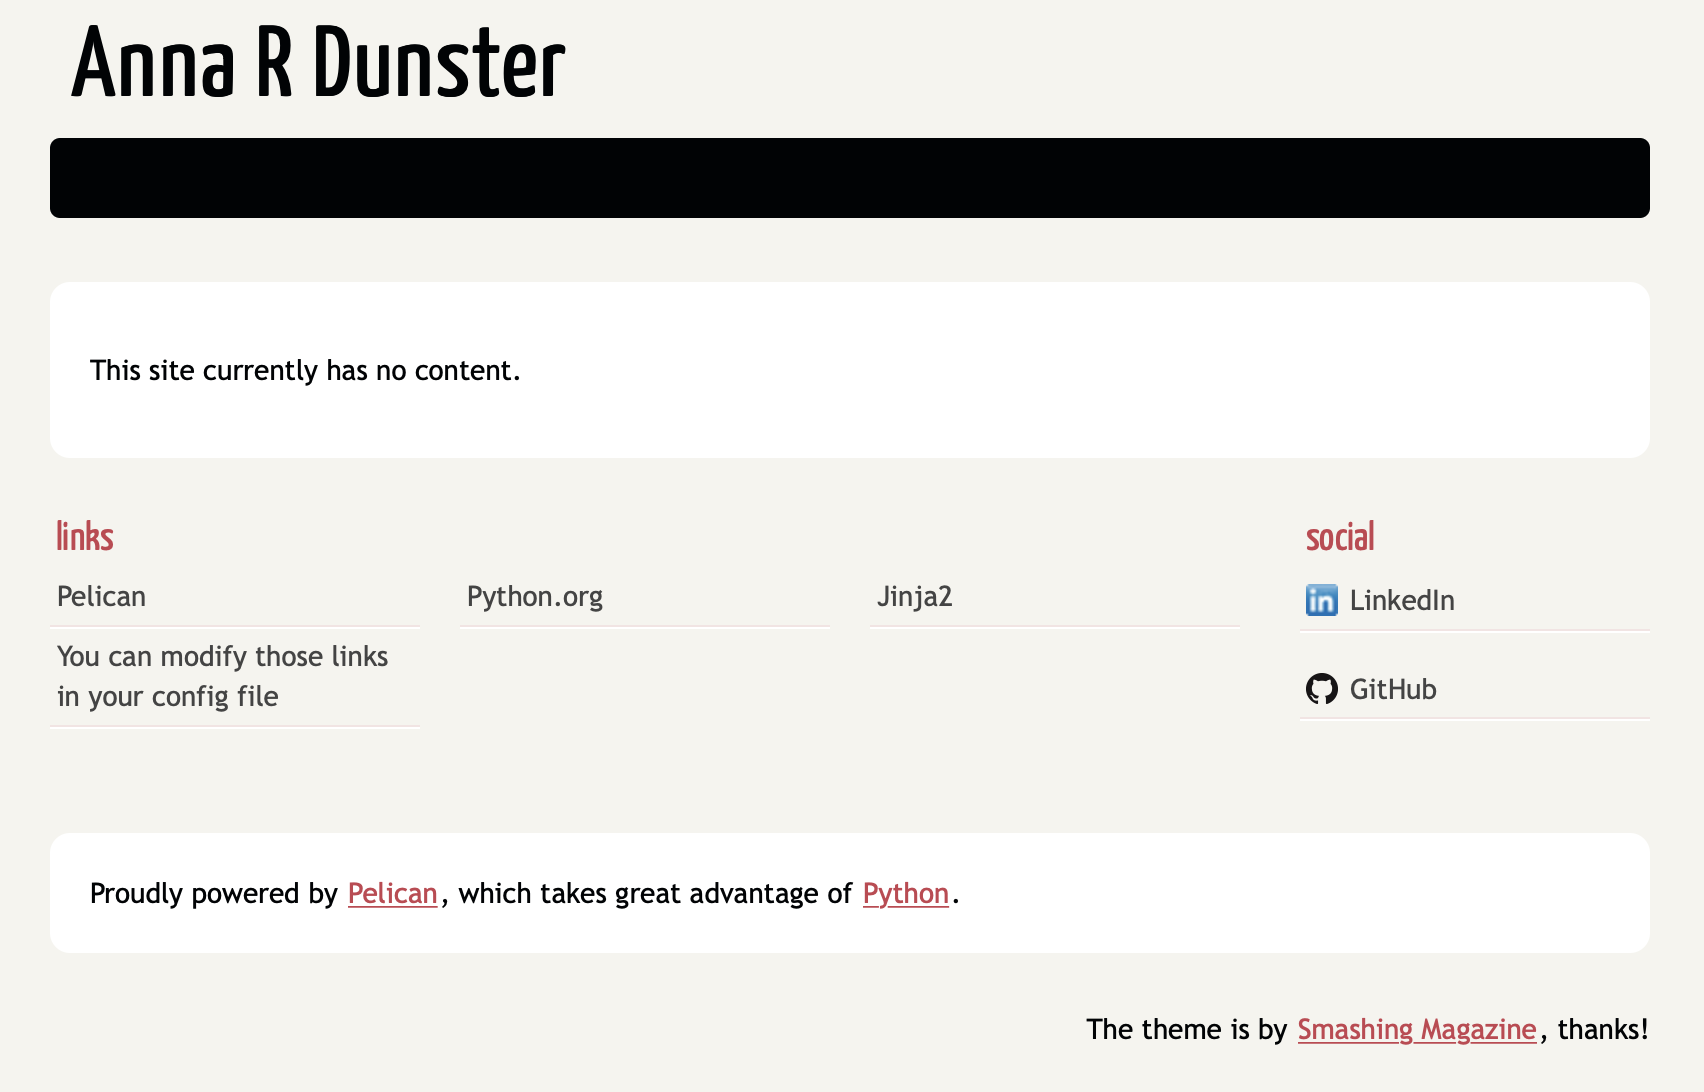
Success! A functional Pelican generated website running on localhost. Extremely boring with no content, but hey, a step in the right direction. :)

Importing my content
I don't have a huge amount of content already written, but enough that it'd be a lot easier to import it automatically than manually. So, how to do this with Pelican? To research this I started with Pelican's official documentation. (Crazy thought, I know!)
I'm working from an existing WordPress site, so it looks like I have a couple more dependencies to address (BeautifulSoup4 and lxml for Python, and also Pandoc), and then... time to figure out how to extract the information from WordPress. Fortunately, that was super easy: all I had to do was log in to my Dashboard, and under the Tools heading, select Export.
From there, a bit of tweaking the command line example pelican-import --wpfile -o ~/output ~/posts.xml for my particular relative path details, and now I have a folder full of script-generated .rst files!
Oh boy, there's a lot of cruft in there.
Well, there's no time like the present to sort and clean that up. Pelican will only take a single category per post, too, unless I install a plugin to handle multiples. I don't think I really need that - my structure was to include posts in Blog, plus a second relevant category; I think I'll just sort them into their second, relevant categories, to make it easier to see related posts together. Plus, a lot of these files seem to just be related to tags, and I don't think I need those (I probably could have kept them out of my export with a bit more care taken on the export screen, now that I think of it); lastly, there are a number of exported posts that I don't even want published, so I'll need to sort those out, too.
It'll take a bit of time to manually sort through the generated files, update categories and so on, but let's just make sure things are working first, and throw a few files into Pelican and regenerate the html...
Success!
Well, sort of. It successfully rendered my home page and the one blog post I grabbed into it, but I thought it had devoured my theme (and introduced a few other odd issues). A bit more troubleshooting later, it turns out that assigning my site URL in pelicanconf.py made all my links absolute... to my actual webserver, rather than relative in the directory structure.
Now I can actually browse my self-served website, and start working out a theme that I enjoy. But that's all for another day, today I am happy just to have a solid start on this transition! :) Hopefully another post or two down the road and we'll be serving pregenerated static html.